

When a customer asks us about lighting for a car wash, one of the first questions is usually: How many lights do I need? We do not start with a wattage or a fixed number of grids. We first ask for the bay dimensions, ceiling height, vehicle position and the work carried out in the space. A wash-only bay, a detailing studio and a mixed workshop can need different layouts even when the rooms look similar on paper.
Wet areas also need to be marked before choosing fixtures. The ceiling above the vehicle may be suitable for a honeycomb light layout, while an area exposed to more water may need a moisture-proof fixture selected for that environment. Looking at the whole room first avoids forcing one light type into every zone.
Choose Lighting Around the Working Area
The useful starting point for car detailing lighting is the position of the vehicle and technician, including where shadows fall along the sides. People also work around the front and rear, and sometimes with doors or the bonnet open. If most of the light sits over an empty strip of floor, a high power figure will not correct the layout.
The goal is not simply to make the room brighter. The light needs to fall where the technician is actually working.
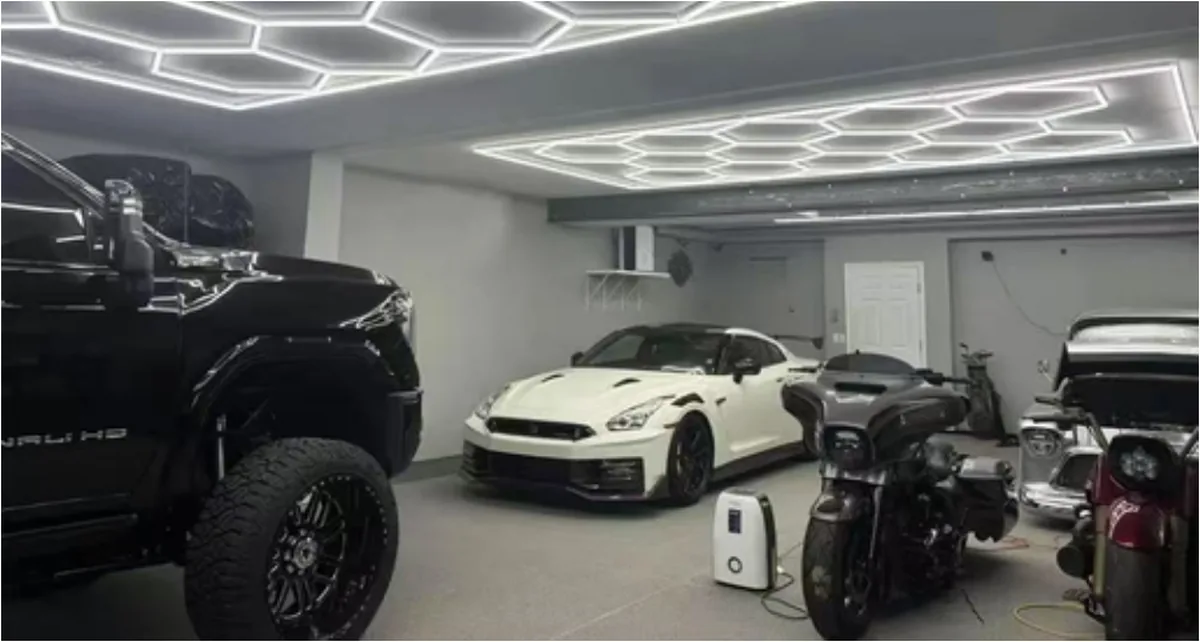
For the main working area, modular honeycomb lighting or hexagon lighting can be arranged around the vehicle footprint. The pattern is visible from below, which also makes it easier to discuss coverage with a buyer before production. We normally mark the proposed grid on a simple ceiling plan and compare it with the vehicle position, lift location and access around the bay.
Not every part of a car wash needs the same fixture. A covered detailing area may use a honeycomb system over the car, while a wetter entrance, wash zone or perimeter area may need a moisture-proof fixture chosen according to the actual exposure and the documentation for that model. These are not competing choices. We often use both approaches in one project because they solve different parts of the job.
Ceiling conditions matter as much as the floor plan. Beams, doors, pipes, cable trays and other fixed obstacles can interrupt a clean grid. A layout that looks balanced in a brochure may need to move slightly when it is placed over a real bay. For a multi-bay shop, we also check whether each car has its own working area or whether vehicles move between washing, drying and detailing positions. This helps us decide whether separate grids or a broader arrangement makes more sense without guessing from the number of cars alone.
Pick the Grid Size After Measuring the Bay
“Can I use an 8-grid light?” is a common question. The answer depends on what must sit below it. We need the usable ceiling length and width, not only the overall room size. Wall cabinets, roller doors, lifts and service equipment can reduce the space available for the lighting. Ceiling height and the intended vehicle position are also part of the same check.
Bigger is not always better. We normally choose the grid around the vehicle position and available ceiling space.
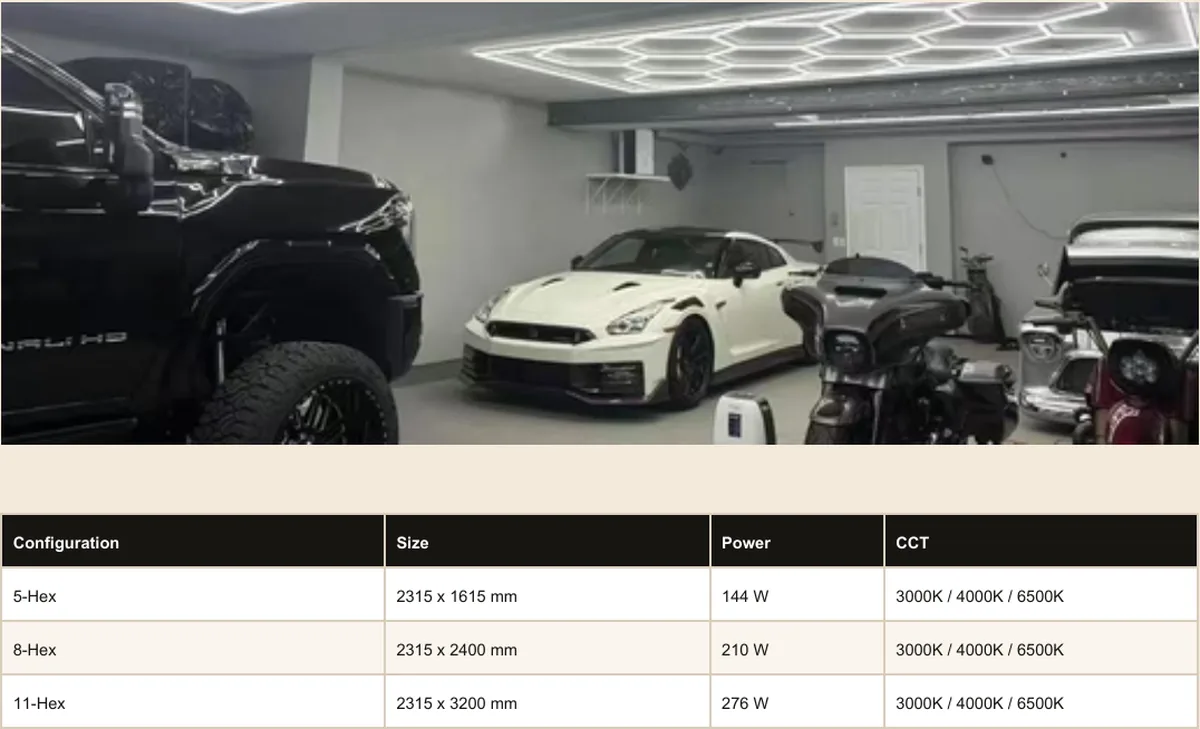
The following three configurations are useful examples from the current LUXBONTOP catalog. They show how the overall size and power change as the grid becomes longer. They are reference options, not automatic recommendations for a particular garage.
| Configuration | Overall size | Power | CCT | LED |
|---|---|---|---|---|
| 5-Hole | 2315 × 1615 mm | 144 W | 6500 K | SMD2835 |
| 8-Hole | 2315 × 2400 mm | 210 W | 6500 K | SMD2835 |
| 11-Hole | 2315 × 3200 mm | 276 W | 6500 K | SMD2835 |

These dimensions let a contractor compare the product with the clear ceiling area before ordering. If the bay is narrow, the width may decide the choice. If the vehicle parks lengthwise under the grid, the available length and the position of the working zones may be more important. We also look at whether the grid should be centred on the room or centred on the car; those two points are often different.
For two cars, a room measurement by itself is still not enough. We need to know whether both vehicles are worked on at the same time, where the gap between them will be, and whether posts or equipment break up the ceiling. The question is not simply “What size should I use for two cars?” A better question is whether the proposed arrangement keeps useful coverage over both working positions while leaving space for installation and access.
Before confirming a size, we normally place the outside dimensions on the customer’s drawing or on a marked-up photo. This quick check catches conflicts early and gives the distributor or installer a clear drawing to review. It also keeps the quotation tied to a real configuration instead of an assumed number of lights.
Single Color, 3 Colors Change or RGB?
For standard car wash lighting, detailing work and workshop use, the main requirement is usually clear working light. A single-color 6500 K system keeps the selection straightforward when the space has one main purpose.
For a mixed-use space, 3 Colors Change provides 3000 K, 4000 K and 6500 K options in one system. A buyer may want different settings when the same bay is used for regular work, customer handover or a different visual presentation. We still confirm the operating requirement before selecting it; extra modes are useful only when the team plans to use them.
RGB is more often discussed for a showroom, content area or a shop where the ceiling is part of the visual identity. The current low-voltage options include DC24 V and DC5 V. Voltage must be agreed with the layout and the supplied electrical components rather than treated as a last-minute colour choice.
In B2B projects, we recommend deciding the purpose first: working light, a mixed-use room, or a visual feature. This keeps the product specification clear for the buyer, installer and end user.
Installation and Maintenance Details That Matter
For a modular system, check the layout before anyone works at ceiling height. We recommend assembling or setting out the pattern on the floor first. Confirm the outside dimensions, tube direction, connector positions and power entry point against the approved drawing.
Check the ceiling again before fixing anything. A beam, duct, door track or other obstacle can require a small layout adjustment. It is better to find that conflict while the parts are still on the floor than after one side has been mounted.
Do not force a connector. If a joint does not line up easily, stop and check the tube orientation, connector type and spacing. Forcing it can hide an alignment problem that will continue through the rest of the grid.
For contractors and distributors, a small quantity of spare tubes and connectors is worth planning with the order. The exact spare list should match the confirmed layout, so the site team knows which components belong to that project. Electrical connection and final testing should be completed by a qualified electrician in accordance with the requirements that apply at the installation site.
Before handover, view the system with a vehicle in its normal position. The practical check is whether the working area is covered as planned and whether anything on the ceiling has forced the installed grid away from the approved position.
What to Send Us Before We Make a Layout
You don't need a finished lighting drawing. Send us your bay dimensions, ceiling height and a few photos of the space. We can recommend the grid size and layout before you place the order.
The most useful project information is:
- Bay size: clear length and width of the working area
- Ceiling height: measured from the floor to the mounting surface
- Vehicle position: where one or more cars will normally stand
- Voltage: the supply information for the installation
- Color option: single color, 3 Colors Change or RGB
- Quantity: number of bays or complete layouts required
Photos should show the ceiling as well as the floor. If there are lifts, doors, beams, ducts or fixed equipment, include them in the photo or mark them on a simple sketch. For a new site, a plan with the vehicle positions is enough to begin. For a retrofit, photos of the existing lighting help us understand what the customer wants to change.
With those details, we can compare the usable space with the available configurations and prepare a practical proposal for the car wash bay. For several bay types in one inquiry, identify each room or project so the layouts are easier to quote and review with the installer.
You can also review the honeycomb and hexagon garage lighting range or open the LUXBONTOP catalog before sending the project information.